
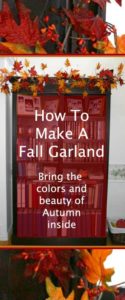
How To Make A Fall Garland- Perfect for a Bookcase
I wanted something new for fall. I’m so excited about this garland because I will be able to use it from September until the end of November. The colors and the crispness of the changes happening outdoors, brought in to spruce up the house.
The First Step
Gather all of your materials:
wire cutters
needle nose pliers
scissors
X-ACTO Knife
*I bought most of my supplies from a local craft store
1 leaf garland
CraftMore 6-Feet Fall Maple Leaf Garland (Colors Range from Dark Red Hues to Crisp Yellow)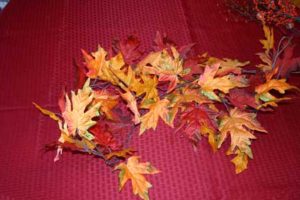
5 beaded stems
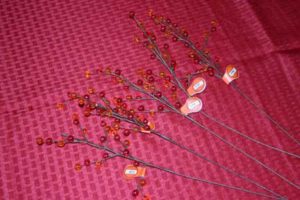
18″ Shiny Burnt Orange Fall Berry Sprays Floral Decoration – 12 Stems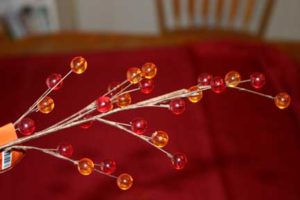
3 Orange berries
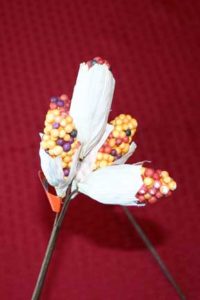
I also found some small Indian corn cobs, but couldn’t find a link for them or anything similar. I used 2 groups, separated (one fell on the floor and didn’t make it onto the garland so I used 7 individual Indian corns.
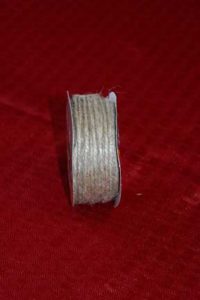
craft twine
American Crafts Value Pack Hemp Twine, 5-Yard, 12-Basic Colors, 24-Pack
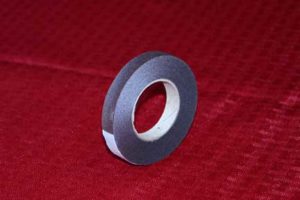
Brown Floral Tape
Lay It Out
Next, lay out your leaf garland. It is wire so you can bend and twist it to get an idea of it’s shape and how you want the leaves to go.
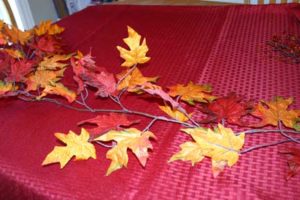
Lay out the berries, orange sprigs, and corn to get an idea of where you want to lay them down. I chose to put the sprigs of orange where each leaf group juts out. I used 3 groups of the orange and separated them into smaller bunches. (Using an X-ACTO knife to separate).
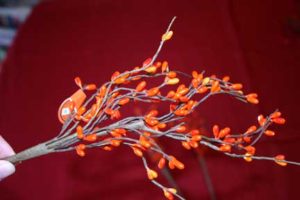
This is a full group. I broke apart the wrapping holding them together and used brown floral tape to put them on the garland, containing the amount I wanted.
At first I started to cut the beads into smaller groups. Wait don’t do this yet!
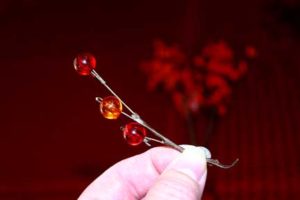
These smaller groups became tedious and I’m not convinced they are going to stay in place as nicely as I would like. So, for the remaining 4 groups I added them without breaking them apart and it worked out really well!
Then I laid the corn on top to decide where they would fit in best. I liked them mostly in the barer spaces between leaves and other decorations.
Wrapping it up
Now, you are going to use your floral tape and tape it all in place. I choose brown floral tape because my beginning base garland is brown.
Cut your wire with wire cutters, but not too short. You want to be able to wrap some of the end around the leaf garland and then cover the attachment with floral tape. (This gets pretty sticky.) Covering it with floral tape makes it stable and keeps any wire from scratching the surface where you will eventually place the garland.
Make sure you gently pull and keep the tape tight as you wrap. Floral tape tears easily, but you can mush it together and tape more. Wrap between stems, you want to make it look as “natural” as possible and not like a clump.
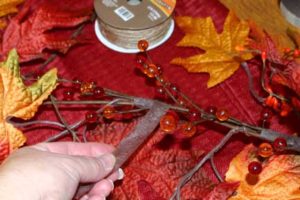
With the full stems of beads, I laid them across the main base of the garland and wrapped it in a couple of places to make it stable, hold it in place and made sure it looked good. I had to trim the end of the bead stem because it was too long and thick to fit on the garland and look good. (Use wire cutters to trim ends that are too thick and too long.)
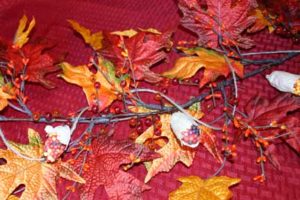
Hints
I started out trying to make sure I was wrapping as much as I needed to at the same time instead of going over it multiple times. I recommend that if you have things in similar places that you wrap as much together at a time so as to make it less bulky. To do this, start wrapping the bottom item and then add the next item before you finish wrapping the first.
I found that as I wrapped and moved up the garland, things that were just laid on the garland, were falling onto the floor. So, once you have an idea of where you want things to go, place them off the garland, in as much as possible, the configuration you want them to be in. This will help keep some order to your project as you go.
Put the corn in last and fill in empty places. I liked putting them in different directions rather than all going the same way.
Finishing
Lastly, I wove the twine through the garland, hoping to add a little more texture.
Placing the garland
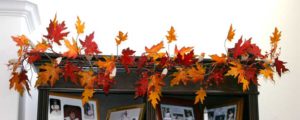 We used some push pins on the very top of our book case where they can’t be seen. We bent the ends of the garland around the ends of the book case. In some places the garland hooked onto the pins and held well but the middle was a little droopy. So, we used some of the craft twine to help hold it up around the pin on top.
Let us know in the comments how your fall garland goes!


Recent Comments