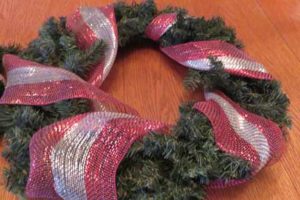
 I wish I had a photo of what my old holiday wreaths looked like for the past few years. Evidently, I have avoided taking pictures of them because they weren’t my favorite! I have been wanting to redo them for a long time! They didn’t turn out the way I wanted. When I first made them they had big bows out of the mesh ribbon. The mesh isn’t as sturdy as wire ribbon. The bows were a little floppy and they looked decent the first year we used them.
However, they didn’t store well. The bows got smashed and looked terrible. Not having time or energy to redo them, I either left them out of decorating or hung them up with just the ribbon that is wrapped around them. Every time we pull up to our house, I have thought “I need to redo those, I hate them!”
This is the year!
The greenery is on a sturdy wire frame and still very decent by itself. So, re-using the wreath made sense!
I got help from 2 of my favorite helpers! They had so much fun designing and decorating.

This post contains affiliate links. I include these links for your convenience to be able to find similar items to what I am using. I earn a small commission for the referral, but your price remains the same.
Supplies
Wreath- something with greenery and a wire frame is going to stand up to the weather the best.
Ribbon- wire is easier to manipulate and twist and get in place.
Wire cutters- essential for cutting the greenery and plastic pieces you will place
Wire- for holding pieces in place.
Hot glue sticks and Hot glue gun- Some things need a little more help to be kept in place.
Bells- any color
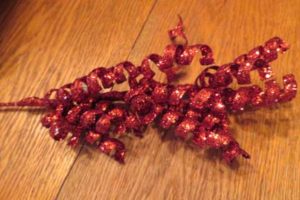
Christmas flowers
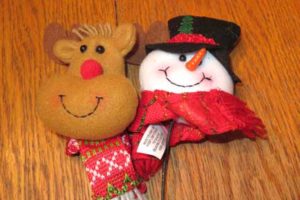
Christmas decorations
Outdoor Holiday Wreath Step 1
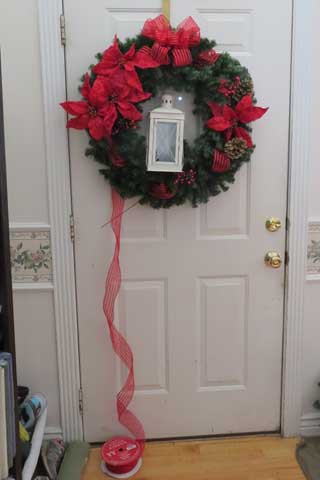
Wrap your ribbon around the wreath. Tie or hot glue the ends of the ribbon to your frame. Make it even around the wreath and when it is pleasing to you cut the ribbon, tie or hot glue it with the other end to the frame.
Fluff the greenery. Pull out the branches, they are made with wire and can be manipulated to the places you want. Make it look nice and full; not like it has been sitting in storage for a year.
Holiday Wreath Step 2
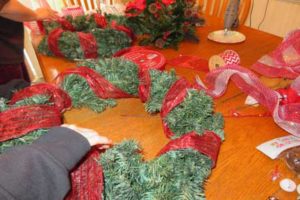
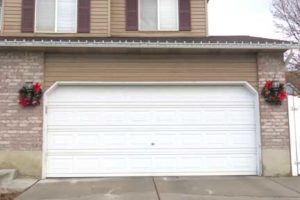
Lay out all of your supplies and tentatively place pieces on the wreath. Do you want all decorations to one side, all to the bottom or spread throughout the wreath. What looks best to you and keep in mind where and how you plan to hang it. Mine go around my lights on my garage.
My helpers like the decorations spread throughout the wreath.
*Full disclosure. I got my supplies from Hobby Lobby and used some things I had left over from past projects.

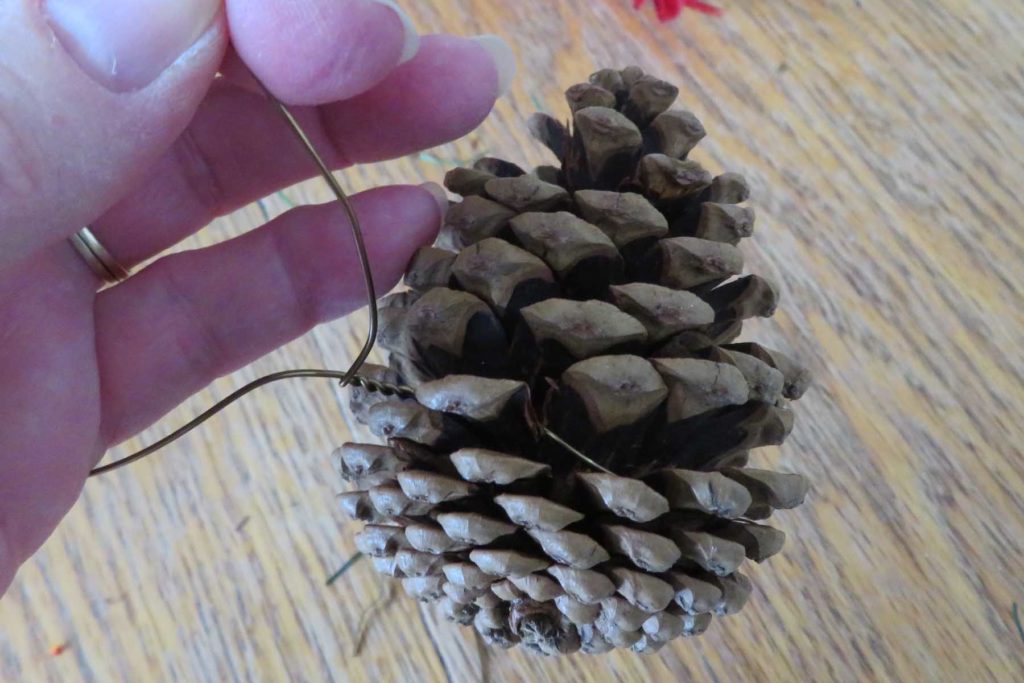
My daughter had a great idea to wire the bells to the center of the poinsettias. Cut your wire a little long so you can wrap it to the wreath and hold it in place. Once you have decided on placement of items wire and hot glue all decorations into place.


Holiday Wreath Step 3
Hang your wreath in place and do any last minute fluffing and twisting.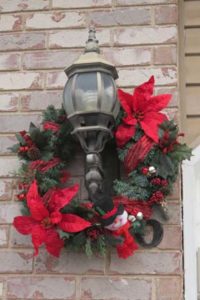
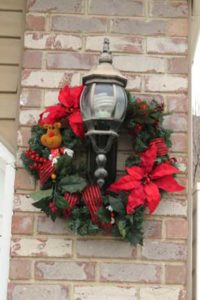
Happy decorating and Happy Holidays!








 I wish I had a photo of what my old holiday wreaths looked like for the past few years. Evidently, I have avoided taking pictures of them because they weren’t my favorite! I have been wanting to redo them for a long time! They didn’t turn out the way I wanted. When I first made them they had big bows out of the mesh ribbon. The mesh isn’t as sturdy as wire ribbon. The bows were a little floppy and they looked decent the first year we used them.







Recent Comments