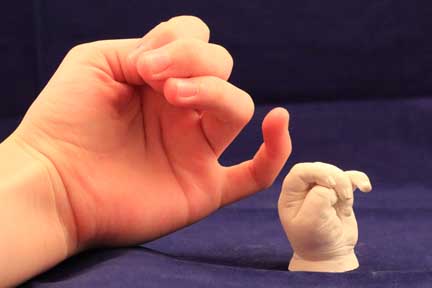
When I had my first daughter someone gave me a coupon to take her to have a mold made of her hand. Then, with each one of my daughters, we got a mold of their hands. I love those little hands!!!!
They represent a time we can never get back. Remind me of how much they have grown and changed. I fondly remember my finger being held in that tiny little hand and how much I love my babies.
Our First Attempt
I wanted to do the same for my daughter and granddaughter. When she was 2 weeks old we tried to do a hand mold, but the kit we bought hardened really quick and was as hard as plaster. I don’t know how we would have gotten her hand out. It was too thick to get her hand into the mold.

The instructions said to put her foot in warm water, first. She wasn’t too happy about this process.
Second Attempt
Unfortunately, my daughter and granddaughter live in another state, so it was nearly 2 months, before we were able to try, again.
I did some research and found dental grade mold making for body parts including baby! This one worked awesome! It does set up quick, so work fast!
Materials needed for baby foot and hand molds:
- Dental grade mold mix
- Water
- Plastic or paper cup
- Plastic spoons for stiring
- mini bread pan (disposable)
- Something to make mix in
- A scale to measure is helpful
- Plaster of Paris
- Something to mix plaster in (disposable is best)
- Exacto knife
- Toothpicks
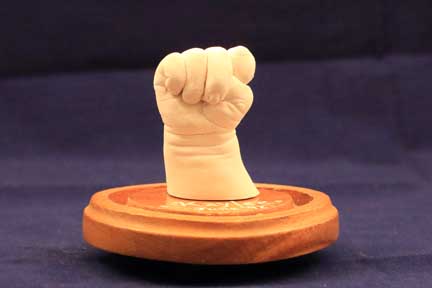
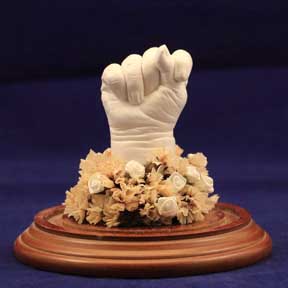
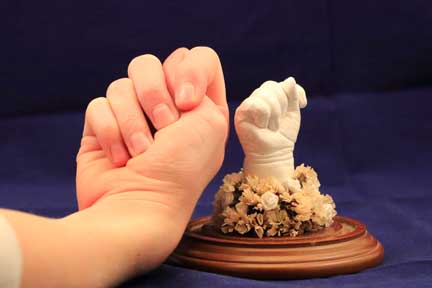
- Glass dome for display purposes. (Check how much room foot and hand, if putting together, need for display.)
How to
Wear clothes you don’t mind possibly ruining. A onsie works pretty well for baby or just having her in a diaper.
Pour mixture into a container that baby’s fist or foot can be completely covered in. Careful to not touch the sides or bottom of the container. You will have flat spots in your mold, if you do. You will have to firmly hold baby’s arm or leg to keep it in the mold. It can be tiring and hard especially if baby isn’t very happy.
It is done when you feel the mold and it is a little wet, but closer to tacky feeling.
Gently loosen around the arm or leg and slide the cup/container away.
Mold Mixture
The mixture that worked best for us was 3 oz mix and 20 oz of water. We mixed it and then poured it into a cup to make the hand mold. We made more for the foot, because we needed more to cover the foot. Depending on your container, it may work to double these amounts. (A disposable bread pan works great for feet.)
Careful that there is molding under the foot or it will be missing the rounded shapes in the foot. Careful to have it deep enough that the top of the foot and the toes stay covered. I was a little worried, Little Miss O kept wiggling her toe and I could see the mold moving, before it was fully set.
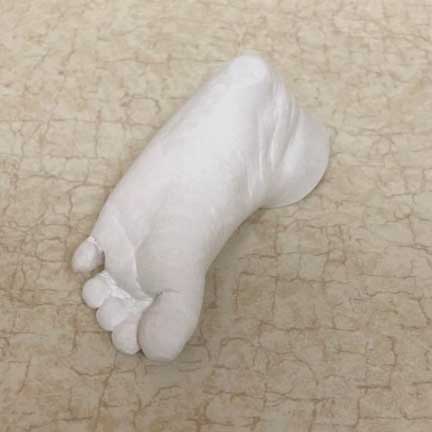
Using the Molds
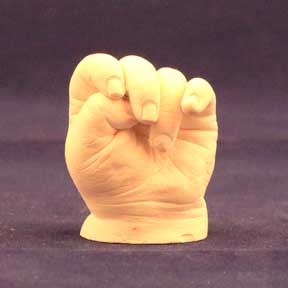
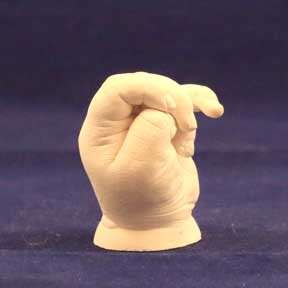
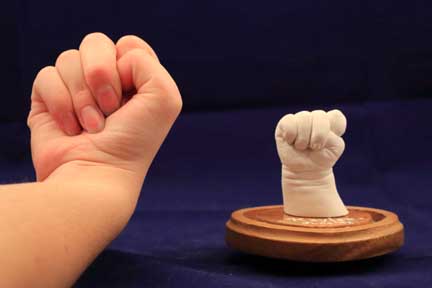
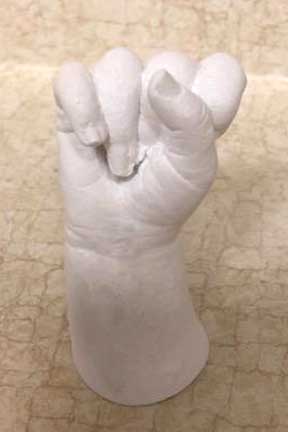
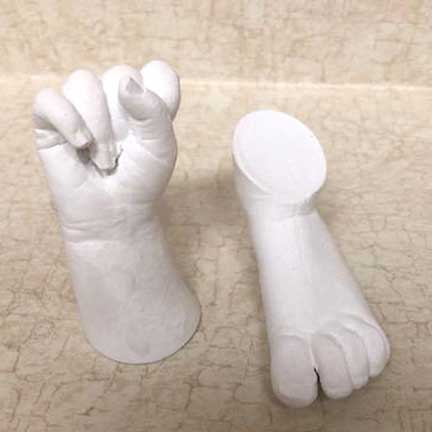
Make your plaster and pour into the molds. Be prepared to do this shortly after creating the mold. As you add the plaster to the mold, periodically shake and tap it, to bring air to the surface. You want to avoid having air pockets in your mold.
We left them over night, but wish we would have removed the mold, from the shape after it had taken shape. Our stuff said it could be done in 2 hours.
I think the mold residue and imperfections would be easier to work with when it is more fresh.
Clean It Up
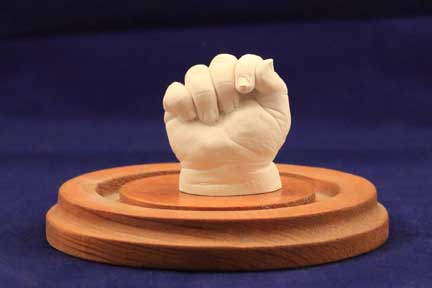
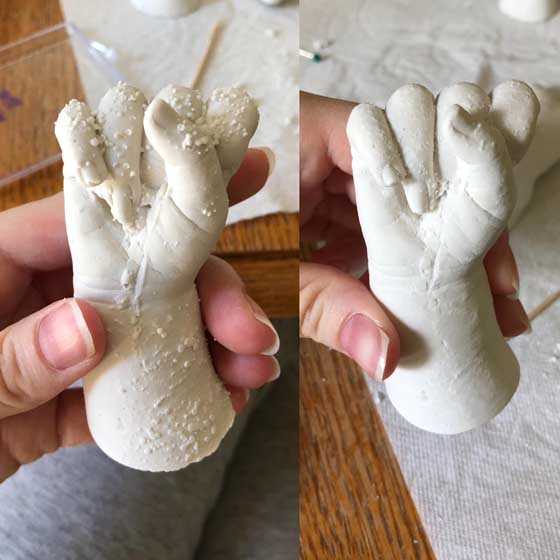
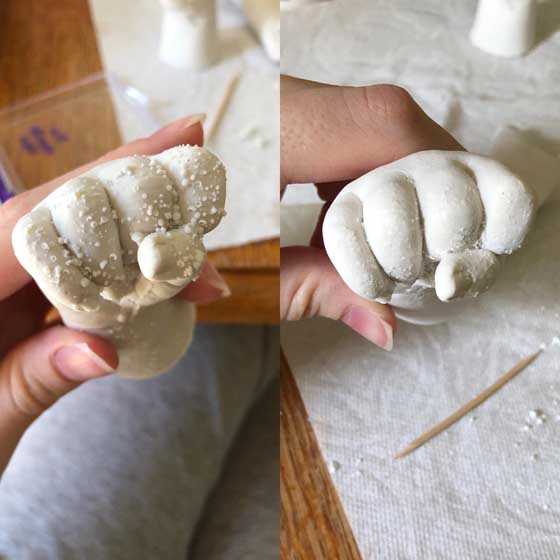
The finished product need to be cleaned up a little bit. I don’t think it would have been so bad had we removed them from the molds sooner. It would have been softer and easier to remove the imperfections and to smooth out other areas.

Carefully we removed the residue from the mold.
But it was what it was and we worked with what we had. Using exacto-knives, toothpicks and a very fine grade sandpaper, we very carefully worked on the statues, because we didn’t want to ruin the shape or texture. Trying to preserve a model of how she is, at this time, in her life. We felt like sculptors!
If there are air pocket holes, use some fresh plaster of paris and carefully fill in the holes.








Leave a Reply
Your email is safe with us.